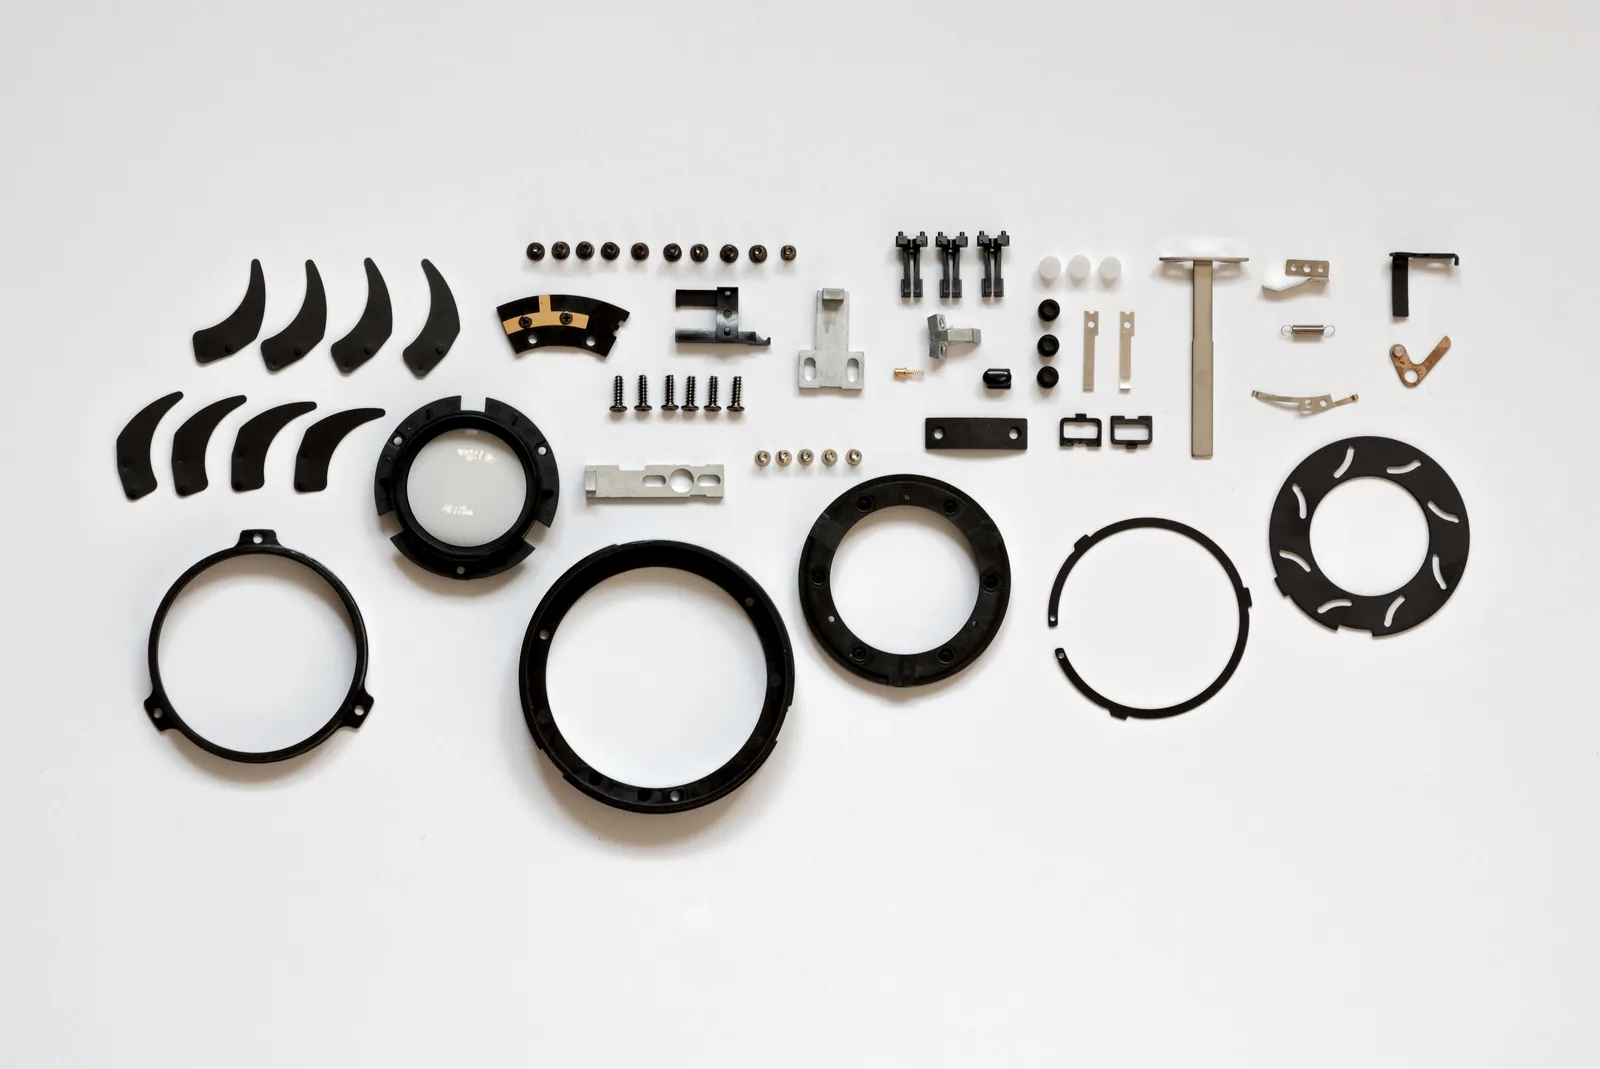
Plan the queue around the step that limits finished output. A busy printer is useful when the rest of the route can absorb its work.
Follow the work past the printer
A print queue can look healthy while the shop struggles to ship. Machines finish jobs, completed parts fill trays, and orders still wait for cleanup, inspection, inserts, assembly, or packaging. The queue measures one stage of the operation. The customer is waiting for the result of every stage.
Start with one product family and write down its full route from prepared file to packed order. Include steps that happen between the obvious activities: cooling, moving work, finding components, waiting for a shared fixture, and checking the finished item. Record who or what performs each step and the conditions required to begin.
Walk that route with a real batch. Look for the place where work repeatedly waits and the resource that is consistently needed next. That observation gives you a better starting point for scheduling than machine utilization alone. A queue that changes location every day may indicate inconsistent release rules or missing materials rather than a single capacity limit.
Separate machine time from attention time
Elapsed time, machine occupancy, and operator attention are different planning inputs. A print can occupy a machine for hours while needing little active handling. An assembly task can take much less elapsed time while requiring uninterrupted attention throughout. Treating both as a single duration hides conflicts in the day.
For each recurring product, estimate setup time, machine time, hands-on finishing time, and the number of usable units usually available after inspection. Keep the estimates simple enough to update. Mark an unfamiliar material or new design as uncertain rather than giving it a precise-looking duration.
In an illustrative example, a batch produces 24 parts in a six-hour machine cycle, then needs four minutes of hands-on work per part. That batch introduces 96 minutes of finishing work before packing begins. Starting several similar batches together creates a predictable arrival of work at the finishing bench. Whether that is useful depends on the capacity available when those parts arrive.
Give the limiting step a workable schedule
Once you identify the current constraint, reserve its time for the work that matters most. Begin with committed orders, realistic ship dates, material readiness, and product priorities. Then work backward to decide when upstream jobs need to start. This makes the print queue a supplier to the next step.
If assembly is the limiting step, release batches that assembly can consume. A smaller transfer batch can let the assembler start while the rest of the print run continues. Keep product identity and quantities clear when splitting work so that partially completed batches remain understandable.
Protect a modest amount of ready work ahead of the constraint to absorb ordinary variation. Too little can leave it waiting for parts; too much can crowd the bench and conceal problems. Choose the buffer from observed variability and available space, then revise it. Avoid treating a full shelf as evidence that the operation has enough capacity.
Use clear rules for releasing and interrupting work
A useful queue answers three questions: what runs next, why it has priority, and what could change that decision. Show the required quantity, available material, intended next step, and due date together. Keep work that is waiting on a design decision or missing component separate from work that is ready to start.
Agree on a small set of reasons to interrupt the plan. A confirmed delivery commitment may justify a change. A vague request to make something sooner needs clarification before it displaces another job. When an interruption is necessary, record what moved and which completion date needs review.
Group compatible jobs when setup savings are meaningful, but check the downstream effect. A large run in one material can reduce machine changeovers while filling the finishing area with products that are not yet needed. The best sequence balances setup effort with the order in which complete products need to leave the shop.
Review completed products, then adjust the queue
At the end of the planning cycle, compare the plan with usable output and shipped work. Note where time was lost, which jobs waited, and whether the suspected constraint remained busy with useful work. The aim is to improve the next decision, so record a short reason instead of building a burdensome reporting exercise.
Look separately at failures, rework, missing materials, and capacity shortages. Each needs a different response. Additional machine time will not resolve repeated assembly ambiguity. A clearer work instruction may be more valuable than a larger print batch.
Review the route again when the product mix changes. A shop making mostly simple parts can face a different constraint when multi-part kits dominate the queue. Keep your scheduling rule attached to the current operation: release the work that the full process can turn into the next needed shipment.
Put it to work.
- Map the route from prepared file to packed order.
- Estimate machine occupancy and hands-on work separately.
- Schedule the limiting step before releasing upstream batches.
- Keep blocked work out of the ready queue.
- Review usable finished output and revise the next plan.