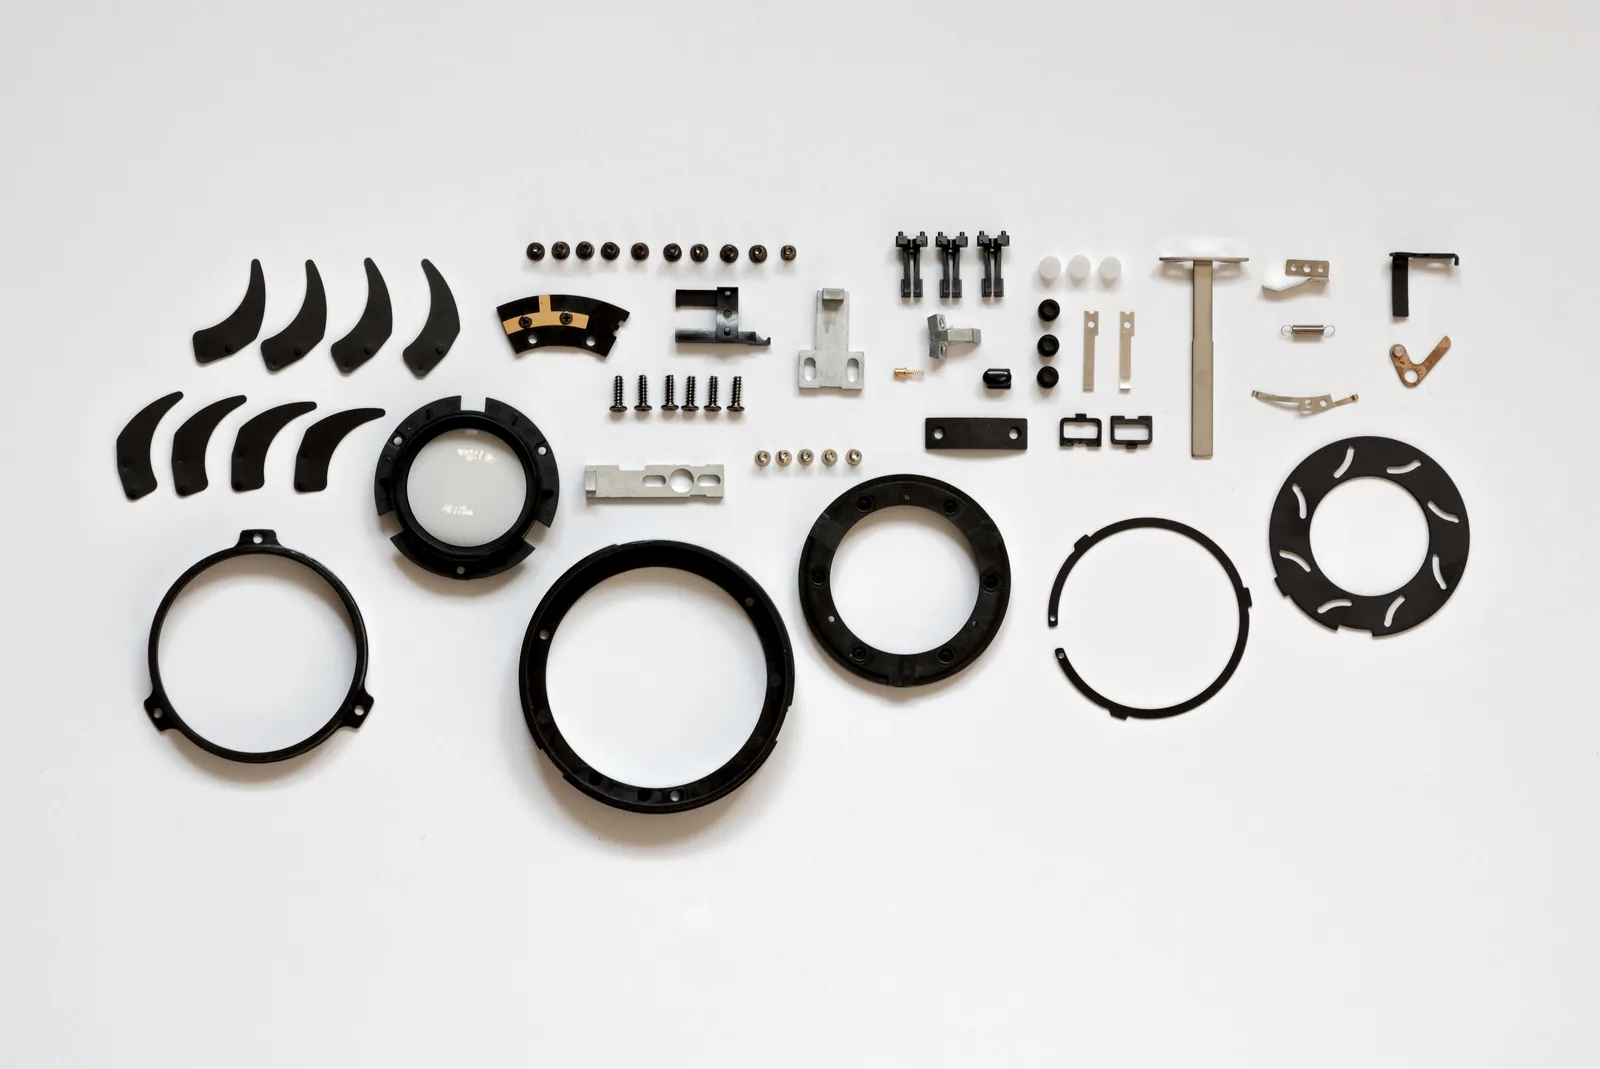
Define exactly what one finished unit consumes, test that definition on the bench, and keep changes tied to a clear revision.
Start with one clearly defined finished unit
A bill of materials is a structured list of the items and quantities needed to make something. Begin by defining the output. Is one finished unit a single component, an assembled product, or a retail pack containing several products? Put that definition beside the product identifier so nobody has to infer whether the listed quantities apply to one piece or one box.
Choose one representative product and bring its current instructions, components, and packaging to the bench. Walk through what goes into it from start to finish. This physical review is useful even when a parts list already exists in a design file, because purchasing packs, shop-floor quantities, and the finished product's shipping configuration may use different units.
List inputs with explicit quantities and units
For each input, record a stable item reference, a readable description, the quantity per finished unit, and its unit of measure. Include small hardware, inserts, and packaging where they belong in your process. A missing screw or instruction card can stop a shipment just as effectively as a missing main component, even if its purchase cost is small.
In an illustrative assembly, one finished kit uses one body, two brackets, four screws, one instruction sheet, and one carton. A planned batch of 25 kits therefore requires 100 screws before any separate allowance for loss or rework. Keep a normal recipe quantity distinct from a planning allowance. Otherwise, nobody can tell whether a larger recorded requirement comes from the design, an expected process loss, or a temporary buffer.
Check the list against a real build
Use the proposed bill of materials to pick materials for a small run. Ask the operator to note every extra item retrieved, every unused component returned, and any quantity that was ambiguous. Compare the actual result with the list before treating it as the working standard. A bill that cannot guide a material pick is not yet specific enough.
Also check the boundary between the bill of materials and the work instructions. The bill describes what is consumed; the instructions explain how to assemble, process, inspect, and finish it. Keep each document focused while linking them through the same product and revision references. An operator should be able to identify the correct inputs and then find the correct method without searching through old files.
Review changes before they reach an open job
When a part changes, record who approved the new bill, what changed, and which builds should use it. Decide what happens to material already picked and work already in progress. A current parts list alone cannot answer whether a batch started yesterday should follow the old or new configuration.
Before each new run, compare the planned quantity with usable, uncommitted component stock. Find the limiting input and resolve any substitution deliberately. A bill of materials turns this check into a repeatable calculation, but its usefulness still depends on accurate item records and a clear release decision. After the batch, review actual consumption and investigate differences. That feedback helps the next material pick match the way the product is really made.
Put it to work.
- Define exactly what one finished unit contains.
- Record quantities and stocking units for every input.
- Keep process allowances separate from the product recipe.
- Validate the list with a real material pick and build.
- Document which revision applies to each released batch.